You will need: 2 FQ's of cotton fabric. (One for the front and pocket and a co-ordinating fabric for the back). We used Michael Miller's Bot Boy and Bot Dot fabric. You can find a great selection on the Sew Scrumptious website. Stuffing You can download the tooth fairy cushion pattern for FREE on the Sew Scrumptious websiteand find a great video tutorial on the Sew Scrumptious You Tube channel. How to Make: Print out the pattern or make your own. You need a square approx 17cm x 17cm and a pocket approx 13cm x 9cm. You can make any size that you like. Cut one large square from each fabric and one pocket piece from the main fabric
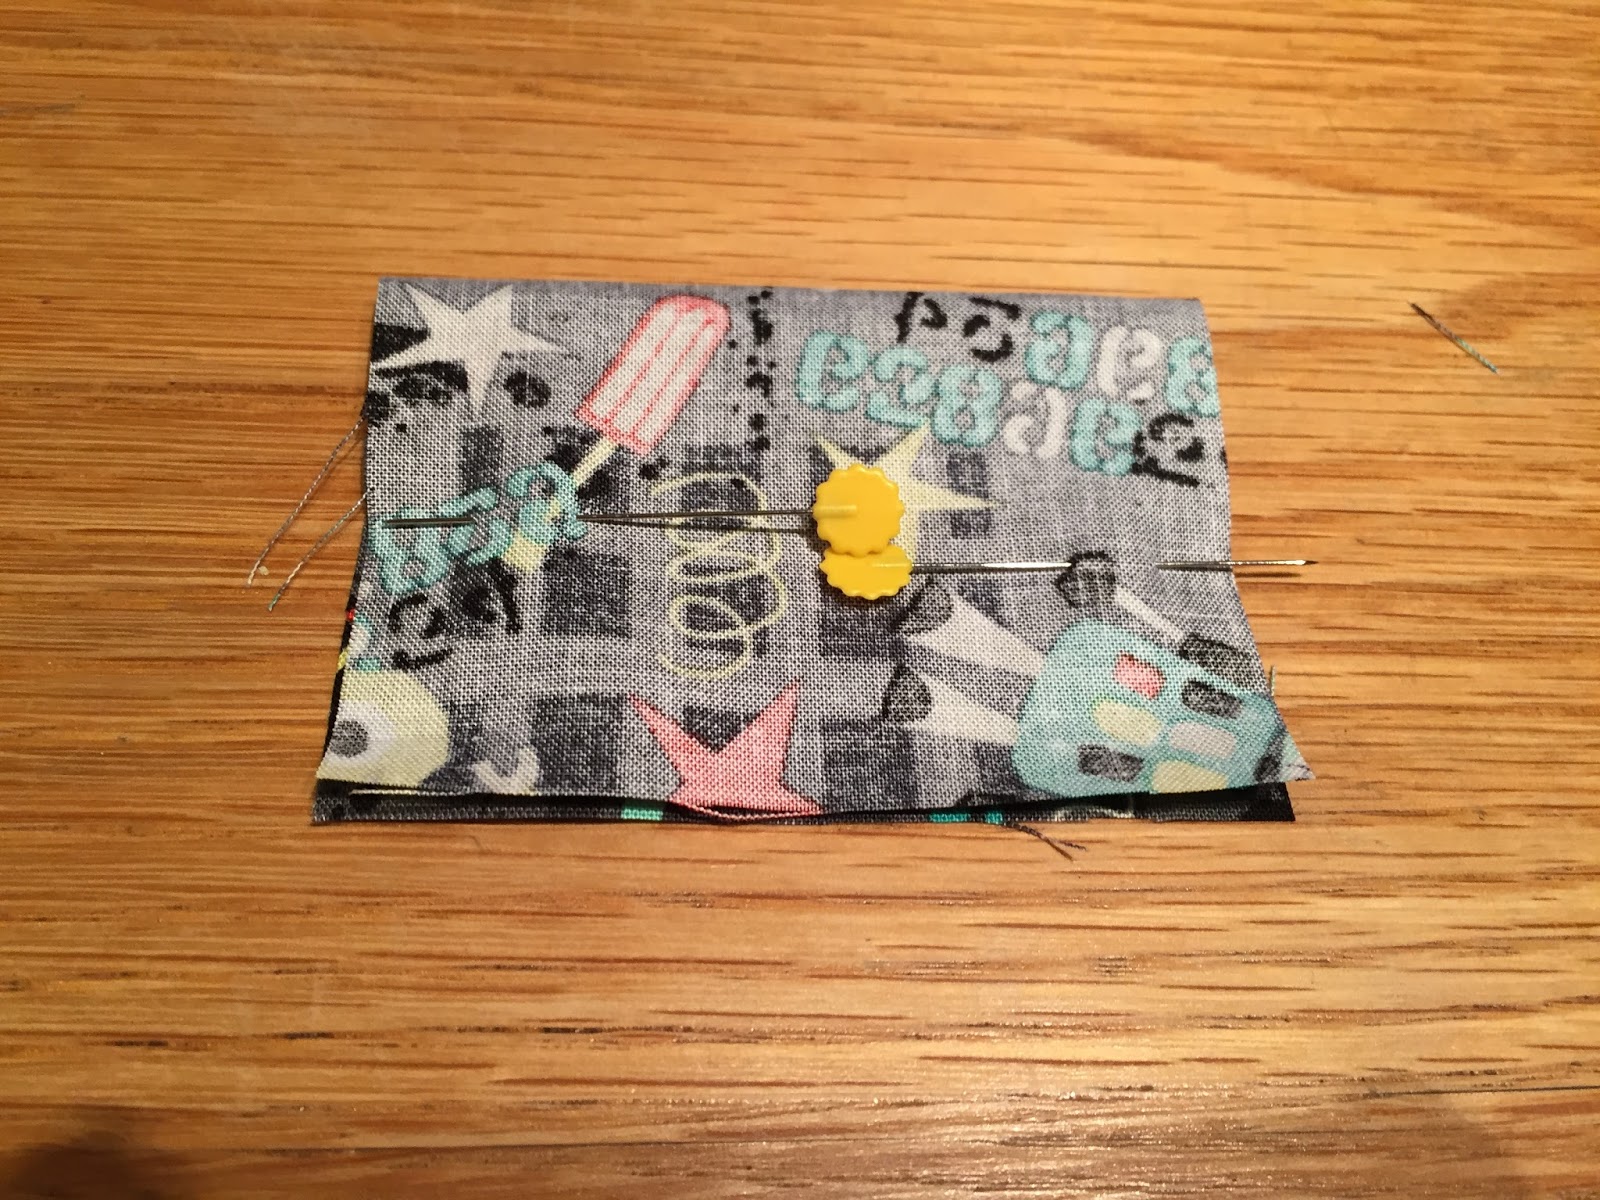
Press down half inch at the top of each large square (towards the back of the fabric) then fold back up. This will help you at a later stage. Making the pocket: Fold the pocket in half and pin (Make sure you think about the pattern on the fabric and which bit you want to see on the pocket front). Machine sew down each short edge leaving the long edge open.
Clip the corners
Turn inside out and press flat
Zig zag along the bottom edge to neaten and prevent fraying.
Press over a small amount towards the back of the pocket to make a crease
Place the pocket face down on the back fabric piece of your cushion making sure that when you fold it up again, it will be central. Pin along the zigzaged edge.
Machine sew along the pressed crease you made earlier
Fold pocket back up and pin both sides in place
Machine sew down each side.
Making the Cushion: Pin the fabric squares together (pattern sides facing) and sew down one side along the botton and up the other side leaving the top side open.
Clip the corners.
Turn inside out and press.
Press in the top half inch along the lines you pressed earlier.
Fill with stuffing until a nice shape.
Pin the top edges together. Sew all along the top by machine or by hand if you prefer. This can be a bit fiddly. Try and squish the stuffing towards the bottom while you are doing this.
Print off the tooth fairy poem onto card and pop in the pocket.
Wait for the tooth fairy to arrive!
Don't forget to subscribe to the Sew Scrumptious You Tube channel to be the first to find out about our new videos and tutorials.
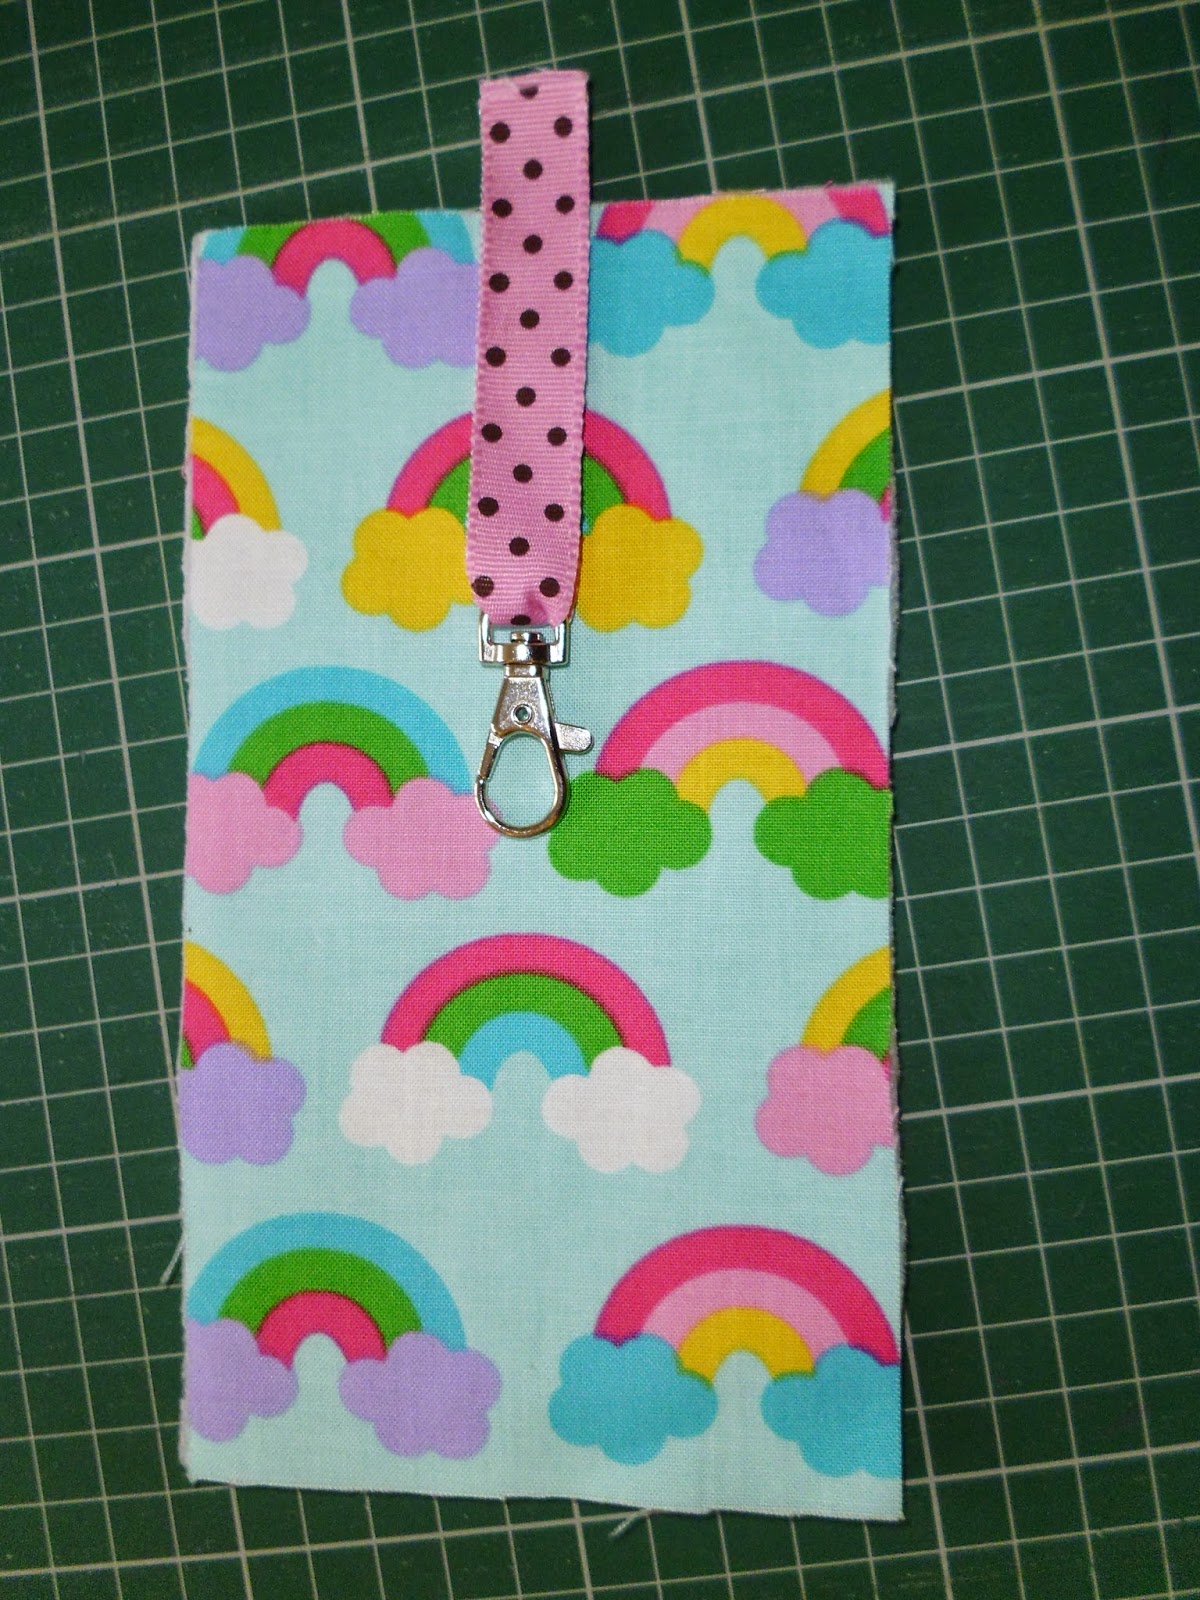
These gorgeous Sunglasses Cases are designed to help children keep their glasses or sunglasses safe and sound. The cases have a handy swivel hook to enable them to be attached to bags or clothes. They are slightly padded to prevent breakages!
You will need: 56cm x 50cm (FQ) Cotton Fabric You can find a fantastic selection of quirky childrens fabrics here Lining: 56cm x 50cm (FQ) Cotton Fabric I used Polka Dot fabric. You can find a selection here 56cm x 50cm Fusible Fleece or Wadding. I used Vilene H640 Pellon. 12cm Ribbon. I always use the fabulous ribbons at www.janemeans.com Swivel Clip Sew on Snap Fastener
You can download the pattern for free here Useful Info Use 1 cm Seam Allowance You could use a split ring rather than a swivel clip or make a wrist strap. Perfect for attaching to school bags for children who wear glasses to school. Can be used to store glasses during PE etc. Can be made larger to accomodate adult glasses/sunglasses
TO SEW
1) Cut two 18cm x 10cm pieces of fabric from the main fabric, lining fabric and fusible fleece. Attach the fusible fleece pieces to the back of the two main
fabric pieces using a warm iron. Make sure they are securely attached.
2) Lay one piece of the main fabric on a table, pattern side facing
up. Thread your swivel clip onto the
ribbon so it is half way down and place the ribbon facing
downwards as in the photo.
3) Place a lining piece of fabric, pattern side down on top of the main fabric and pin along the top of both (make sure the ribbon
is kept in place). Sew along the top using a 1cm seam
allowance. Unfold and press flat. Repeat without the ribbon for the remaining pieces of fabric. You should have 2 long rectangular pieces of
fabric each with a joining main fabric and lining fabric.
4) Place the two long rectangles of fabric on top of each
other so the pattern sides are facing with the main pieces of fabric together
and the lining pieces of fabric together. Starting at the bottom left hand side of the lining
fabric, sew up to the top of the main fabric, along the top and back down the other
side. Leave the short side of the lining fabric open.
5) Pull the top of the case through the open end of the
lining until all of the pattern side of the fabric is showing. Poke out the
corners with your fingers. Press the main case and the lining fabric.
6) Fold under approx.1cm of the end of the lining fabric on
both sides and press.Sew along the edge to close the opening.
7) Push the lining fabric back inside the main case making
sure that you poke the corners of the lining into the corners of the main case
so that the lining is sitting flat. Press again. Sew on a press fastener.
8) Add sunglasses!
Pop over to the Sew Scrumptious facebook page and share photos if you make a sunglasses case. We would love to see them!
Here is another quick and easy gift to make for Mothers Day. A lovely lavender heart with a little message on the back.
Please note that we have recently updated this tutorial to make an even easier version with a fab You Tube video to show you how. The new instructions are at the end of this original tutorial along with the new video.
You will need: 2 small pieces of fabric. We used a selection from the Sew Scrumptious website. A small piece of ribbon A button Stuffing Dried lavender (optional) To personalise with a message Plain cream tape or ribbon T shirt transfer paper (available in Asda and WHS stores). To make the message label Type out what you want your label to say in a pretty font e.g. Happy Mother's Day. Flip the text before you print it so it is back to front (mirror image) and then print out onto the transfer paper. I do several versions and sizes to make sure I have spares.
Cut out the message to the size of the tape and place face down on your plain tape. You should be able to see the words through the backing paper so make sure they are facing the right way. Iron on using the instructions in your pack. You usually just hold the iron over the tape for several minutes.
Wait until cool and then pull the backing paper off to reveal the text on the tape.
To make the heart: Draw or print out a heart template. Any size is fine. Cut out 2 heart shapes from your fabrics.
If you are making a message label sew this on before you start.
Place the 2 heart shapes together with the right sides facing outwards on both sides and sew all around the edge using your sewing foot as a guide. This will be approx. 1/4 inch seam allowance. Leave a gap on one side large enough to add some stuffing. Make sure you sew backwards and forwards at the start and finish of your sewing to secure the stitches.
I usually add a mix of both stuffing and lavender and sandwich the lavender in the middle. Push the stuffing in to the heart through the gap making sure it goes to the top and bottom of the heart shape.
Then add some dried lavender to the middle to make it small nice! You will need to add a bit more stuffing after to make sure the heart is fully padded and a nice shape. If you don't have any lavender it doesn't matter. It still looks pretty as a hanging heart.
Sew up the gap. You can do this by hand or if you push the stuffing to one side you should be able to do this on your machine although it can be a bit fiddly. Finish off your thread ends neatly. Using a pair of pinking shears trim all around the edge to give it a nice finish and to prevent fraying.
Choose a matching ribbon and make a small hanging loop by crossing over the ribbon. Choose a button and sew on to the ribbon to secure in the cross shape. You can then attach the ribbon loop to the hanging heart at the same time as sewing on the button securely.
The finished Lavender Heart!
If you don't want to make a message tag, you could always add a little pocket for a handwritten note maybe?
New Version: The new version is very similar and you will need the same items but keep your fabric pieces slighly bigger than your heart template as we will cut into a heart shape at a later stage than before.
Trace around the heart template directly onto the right side of one of the fabric pieces.
Pin to the other piece of fabric wrong sides together.
Put onto your sewing machine and sew together with the edge of your sewing machine against the drawn line. Make sure to sew a few stitches at the start and finish to secure and leave a 3 or 4cm gap open to stuff the heart.
Push some wadding into the heart until the heart is nicely padded. Add some lavender if you wish.
Push the wadding to one side and pin so that you can sew up the gap in the seam. Make sure you use a few back stitches to the start and finish to secure.
Take some pinking shears and trim off the excess fabric using your orignal line as a cutting guide.
Fold the ribbon in a loop and catch in place with a stitch before attaching a button then sew in place at the top of your heart.
Hang up and admire.
Don't forget to have a look at our Handbag Size Tissue Holder Tutorial too. Another perfect Mothers Day Gift!