

You will need:
Main Fabric
56cm x 50cm (FQ) Cotton Fabric. I used Funbots
(Celebration) by Ann Kelle for Robert Kaufman. This is also used for the
pocket. Fabric is available from the Sew Scrumptious website here
Lining Fabric
56cm x 50 cm (FQ) Cotton Fabric. I used Polka Dots
(Sky) from the Sew Scrumptious website here
56cm x 50cm Fusible Fleece or wadding. I used Vilene
H640 Pellon.
13.5cm of Bias Binding. Any width is fine.
24cm Zip
To Cut:
Main fabric
Cut 2 x 16cm x 22cm pieces for the main case
Cut 1 x 15.5cm x 4.5cm piece for the pocket
Lining Fabric
Cut 2 x 16cm x 22cm pieces for the lining
Fusible Fleece
Cut 2 x 16cm x 22cm pieces
Bias Binding
Cut 1 x 13.5cm long piece
Lets Sew!
1) Iron the fusible fleece to the back of each of the two
main fabric pieces using a warm iron. Make sure the fleece is secured in place.
2) Place the pocket fabric piece pattern side down and fold over 1
cm at the sides and bottom and press. Pin the bias binding along the top of the
pocket and machine stitch close to the edge.

3) Place the pocket on to one of the
lining pieces. The top of the pocket needs to be approx. 4cm from the top of
the lining fabric. Make the sure the pocket is in the centre and pin down one
side along the bottom and up the other side. Measure 4.5cm along the bottom of the pocket and mark with
a pin and then another 4.5cm. This is where you need to sew up and down the
pocket to make individual pockets. Starting at the top of the left hand side of
the pocket, sew down and along the bottom. At the pin marker, turn and sew up
to the top of the pocket, then turn and sew back down again. Continue along the
bottom and repeat with the next marker pin. Finish by sewing along the bottom
again and up the other side of the pocket.

4) Place one of the lining fabrics face up on a table. Place
the zip face up on top and then place one of the main pieces of fabric face
down so that the tops of each item match up. Pin in place (main fabric, zip
& lining fabric together) and sew along close to the zip using a zipper
foot. If you flip the top fabric over when you finish, you should see the main
fabric on the outside and the lining fabric on the inside. Repeat on the other
side of the zip.

5) Fold out flat with the zip in the middle and match up and
press each outer layer and lining layer neatly together. Top stitch them
together close to the edge of the zip on each side. This ensures that the
lining fabric does not catch in the zip. Make sure that the zip is half open for
the next stage.

6) Pull the two main fabrics together so that the pattern sides are facing and pull the two lining fabrics together so they are also facing and match up all the edges. Starting at one side of the lining fabric, pin down to the bottom of the main fabric, along the bottom and back up the other side. You need to take account of where the end of your zip is and that is the line you need to sew at the sides. Push the zip towards the lining side when pinning. Sew around the edge.


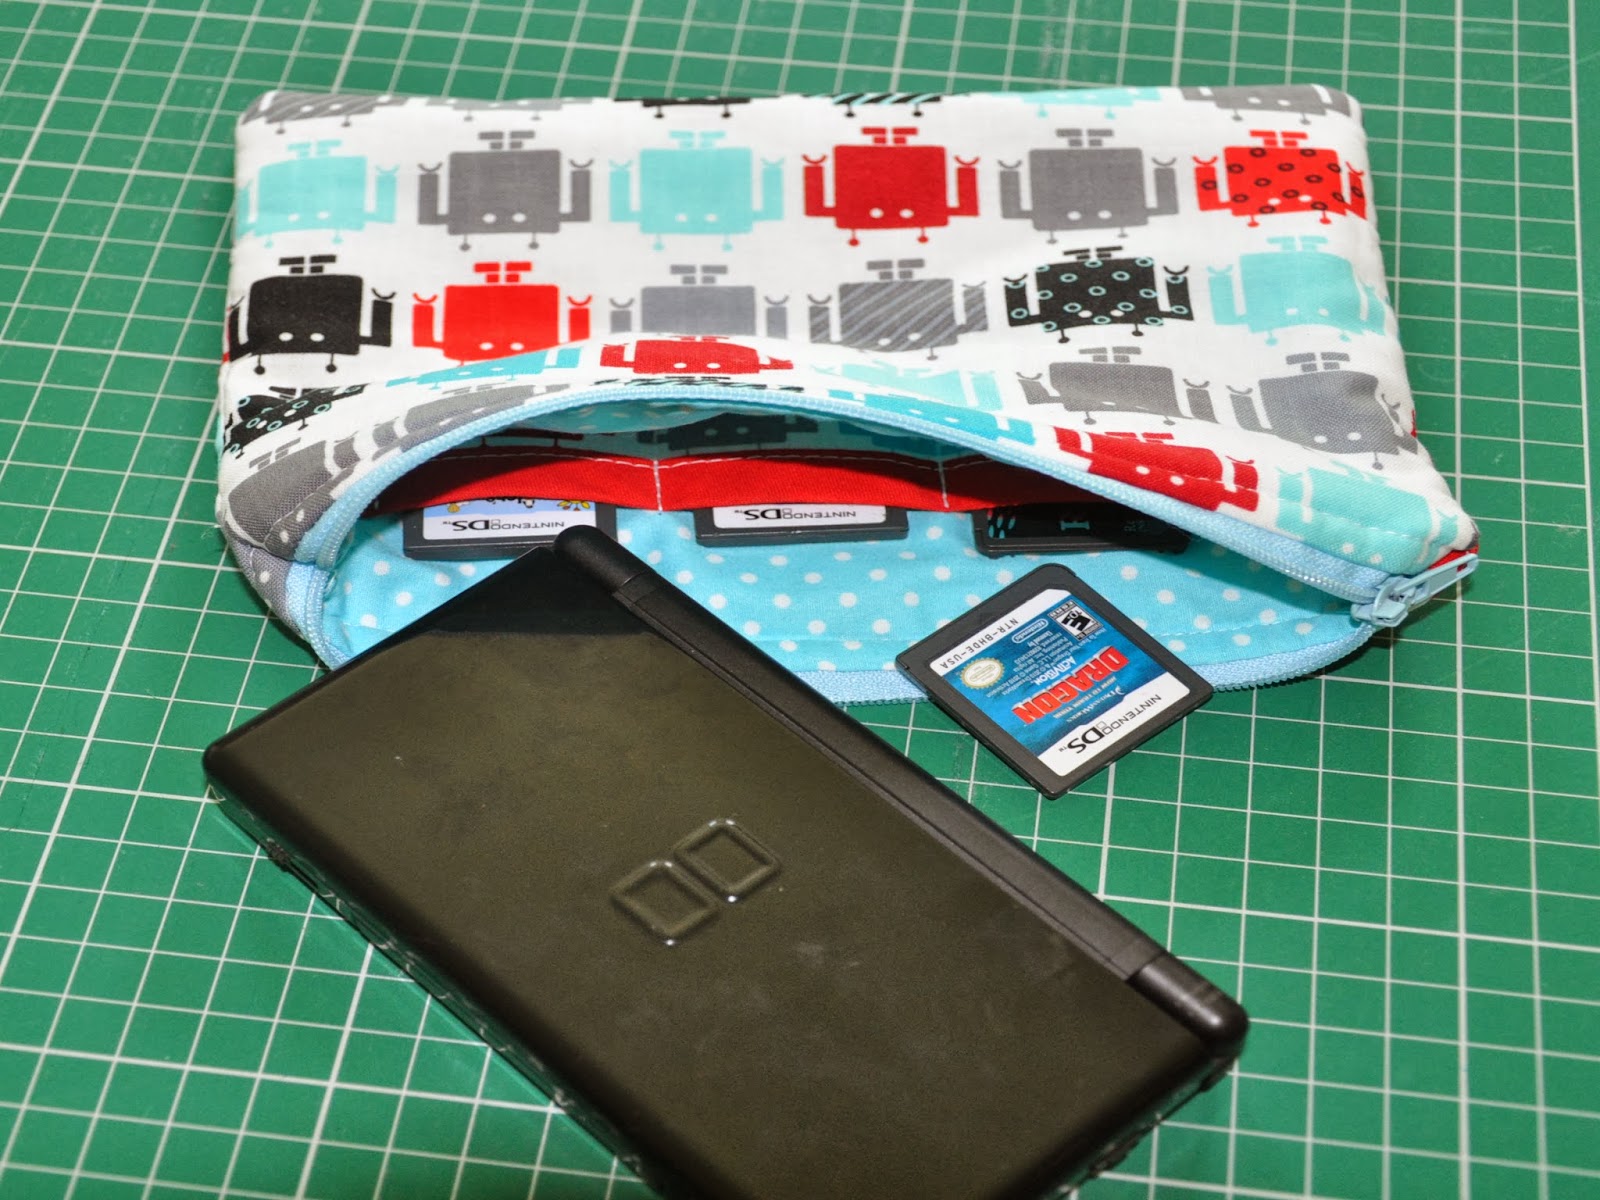
- This case should fit most sizes of DS. You may need to make it slightly bigger to fit the new XL version.
- Add some ribbon and a small swivel clip to one side to attach the case to bags or jeans.
- Try making your own bias binding for the pocket
They are easy to make for boys or girls. Here are some other versions I have made.


If you make a Nintendo DS Case from our tutorial, please share some photos! We love to see what people make. Please feel free to PIN our tutorials on to Pinterest. Don't forget there are some fabulous fabrics perfect for this project over on the Sew Scrumptious website! www.sewscrumptious.co.uk
